Showing posts with label apliqick tools. Show all posts

Sunday, March 8, 2015

Gossip in the Garden...................................


Hello! I'm back with much to share, I have had emails asking when I was doing a blog post again! Been busy quilting and helping out at The Country Yard's New Years Launch. I quilted several samples for the shop ( Facebook followers would have seen some sneak peeks) but had to wait to share the finished quilts until after the special event. So first up is Gossip in the Garden.


"Their friendship revolved around cups of tea and gossip in the garden". Does this sound like a friendship you have with someone?


This delightful quilt was designed by Annie Downs of Hatched & Patched if you pop over to her blog her blog header features Gossip in the Garden, but Annie's fabric selection is quite different from mine.


I chose Kansas Troubles fabric, "Token of Friendship" which is quite fitting for a quilt about friendship. A selection of background fabrics including a lovely rich muddy primitive muslin makes for a quilt that will blend in well in my home!


One feature that appealed to me to make me say I was keen to make the shop sample was the Dresden Plates. There are four in total and another 'stubby/chubby Dresden', each with a sweet stitchery in the center circle.
Baskets of posies............................


Some traditional pieced blocks...............................


Once again I enjoyed using the apliqick tools from Lynette Anderson for all the applique and English Paper piecing.


I kept my quilting fairly simple, using plenty of stitch in the ditch of course, what may surprise you my loyal followers there are no feathers! Quilted over wool/ poly batting.


This quilt is available as you see with all these fabrics through The Country Yard.
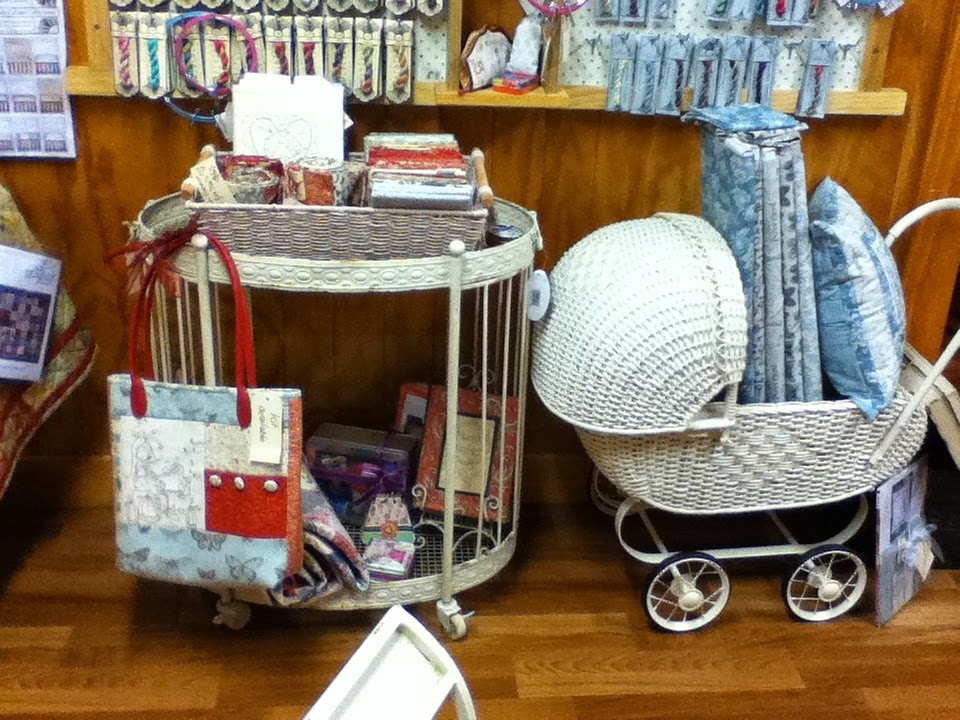
I will leave you with some photo's of the shop after we revamped and reshuffled to make room for all the new eye candy. See you soon with some more quilts.


Saturday, December 13, 2014

Chateau Hexagon


Yes poppets FINALLY finished! So many months, many of them were spent resting (the quilt, not me!)


I bought my patterns from The Country Yard way back.............................crikey LAST year!
Lynette Anderson has designed many Button Mystery Block of the Months, see here for the first one 'My Garden', then here for 'Christmas Fun'.


Because I have a love affair with Kansas Troubles fabric (designed by Lynne Hagmeier) this was my choice of fabrics along with some wool felt.
The background fabrics came from my large loyal collection of creams.

Lynette designs the cutest hand painted buttons that really bring a quilt to life. As you can see I had fun playing with feathers on the border, I think I may go back and add more quilting in the blocks, for now it is hung in my bedroom on the quilt rack my son made me.


If you remember I had a few problems with the appilque (see here for the post about that) but Lynette was a fabulous help to me, she came up with a new setting for my blocks and asked me if I would test the new Apliquick Tools she had just started to stock. Please see this post for that story and tutorial.
There is no going back to 'the other way of appliqueing' for me!


Loving my vintage doliey for the label. Check out your local Opshops/charity stores...................if I haven't already bought them all!


This quilt looks lovely in my room with my Buggy Barn 'Quilters Village' quilt and cushions.


Another finish, this time Christmasy.


This time the fabrics were Lynette Anderson's, the thread: Cottage Garden 'Waratah', the stitchery was from Chestnut Junction the cushion construction was just me playing one Sunday afternoon some weeks back.


Wednesday, April 2, 2014

quilt show


Hi there blog readers! Just wanted to share a few photo's of the Whangarei Patchworkers & Quilters Club exhibition.
 The Country Yard (the shop I work at part time) was one of five Merchants selling their wears.

As I entered the Forum North building, to my delight was a little car covered with a quilt, especially made to keep the car cosy!


Apparently this quilt was borrowed from another club in the South Island. Even the bunting worked wonders to catch the eye of folks walking about.


After setting up our temporary shop on the Thursday afternoon I took a few photo's.


On the Saturday when Raewyn & I were on duty, I demonstrated how to use the Apliquick tools. I also managed a very quick dash around to have a look at the quilts, here are some photo's of the ones that caught my eye.


By Gaye Miller

There was a section that had items made from shirts, I believe it was a club challenge? I loved this one.

by Sonya Prchal

By Sonya Prchal

These two quilts were opposite our shop, they were really beautiful.
For more on the show see Ms Lottie's blog & Leanne's blog, Quilt Whangarei for more photo's.


I will be back next week with a lovely customer quilt that is finished but awaiting her to pick up. Until then, have a happy time stitching up a storm with your best friend or just yourself! Thanks for stopping by.................................


Sunday, March 16, 2014

Quilts, quilts & more quilts part three!!!


Ok, ok.............this IS a quilting blog, so I guess you are going to get lots of quilts! A few posts back I gave you the above sneak peek, a bit mean of me wasn't it! Well it's nice to have a few surprises. I have been working away in secret on a new BOM for The Shop . Now I can show you where I am up to so far.


This lovely design by Gail Pan called "A Merry Christmas Garden".
 It is a six month BOM. Here you see four months, I have finished month five & nearly month six, then I can piece the six blocks together & put the borders on & find someone to quilt it for me LOL!!
Kerryn & I had a fun trip to a couple of fabric warehouses to choose fabrics. I used the Apliquick needle turn tools & appliqué paper endorsed & given to me by Lynette Anderson for all the appliqué. See here for my blog post about these tools.
Another secret I nearly forgot about was the Lynette Anderson "Sewing Friends Cushion".


We have made several kits up of this cute cushion using the fabrics shown called "Mending Fences" by Lynette.

Right that is all The Country Yard quilts, cushions & quilting I had part in for now! I am up to date with all of them..............................well there is another that has just come through the doors to be quilted, but it isn't a secret, so when it's done I can show you!

Now here is one I finished for Cat a couple of weeks ago, this too was a secret for a wee bit until Cat had put the binding on & given to a special friend. See Cat's blog post about this lovely gift here.


Cat asked to please have an all over design on the scrappy star then, her words "work your magic on the white".

So using gunold poly thread I quilted loops & stars in the scrappy Star. The for the white I let the feathers take over! All this over cotton batting.
Some straight lines on the border & I was done.


That's one for you quilt back lovers!
Next time I have caterpillars, butterflies, flowers, geisha girls, a thought provoking panel quilt & teddy bears! but maybe not all in the same post! OR the same quilt!

The last photo, just cause......................................


Thursday, January 16, 2014

Apliquick Tutorial


Hi there bloggers & 'Quiltme' readers! I hope the New Year is off to a fantastic start for you.
Today I am keen to show you some lovely new tools available for applique, called Apliquick tools. How fortunate I was to be gifted a lovely set from Lynette Anderson to try.
For those of you who love the needle turn look, but struggle with this technique, this post may well be worth be hanging around for.......................pop off & make yourself a coffee & read on.


This lovely set arrived in mail before Christmas.
 Hugs & Kisses Applique paper, (this is water soluble paper)  apliquick micro serrated  scissors, tweezers & apliquick rods. Team this set up with Roxanne's baste it glue, a glue stick & a bit of know how, then you are one your way to lovely looking applique!

Remembering to reverse those shapes that aren't a mirror image of each other, trace your shapes out as stated on the paper instructions. If you have a multiple of the same shapes you can put this paper through your printer.


Cut your shapes out on the line. Please click on the photo's for close ups.


One side of the Applique paper is fusible, iron this to the wrong side of your fabric, then cut out the shapes with a 1/8th- scant 1/4" seam allowance. Clip curved seams.
 Gather your tools & glues.


Using the fork tool hold the shape down on your work surface, with the edge of your glue stick, run a small amount of glue on your seam, or on the edge of the applique paper. Use the tool with the beveled edge to fold over your seam allowance, work your way around your shape. Using Roxannes baste it glue put small dots of glue on the wrong side. Then you can use the tweezers to place your shape on the background fabric.


Using an applique stitch, stitch in place.


Now looking at this post, I realize my little tutorial would have been more helpful to you, if I had videoed the steps, but I really needed both hands.............Maybe I should have got my cat Simon to help.........but he was busy!!


I found the tools a wonderful help. The are a speedy way to get needle turn done, without too many fiddly steps. Lynette has a put a couple of video's on her blog, obliviously her cat wasn't playing on the stairs, like mine & was able to help her!
My favourite shop, The Country Yard will be stocking these tools very soon.

Thanks for stopping by.